
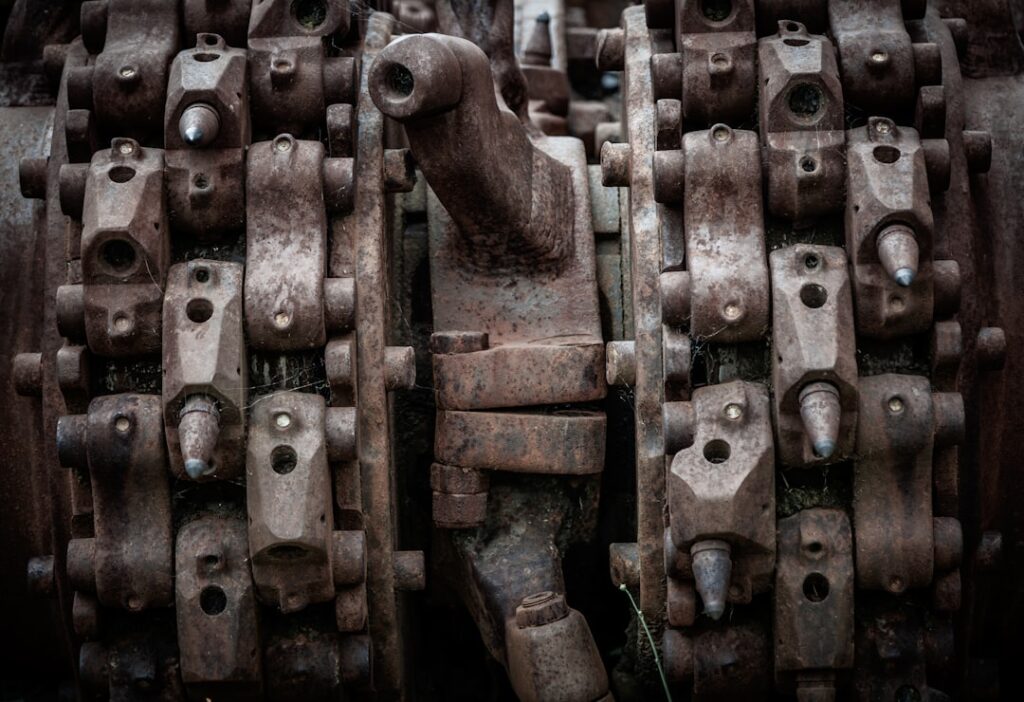
The most common types of mold wear
Abrasive wear comes from constant friction between surfaces and is typical of guides, ejectors and flow areas with filled materials. Adhesive wear appears when material transfers between surfaces in contact, causing scoring or galling.
Corrosion, while not pure mechanical wear, acts in a similar way by progressively degrading the functional surface, especially in the presence of moisture or materials with corrosive additives.
Early signs before obvious rejection
A slight increase in the force needed to operate moving parts, subtle changes in cavity surface gloss, or small dimensional variations that are still in tolerance but show a sustained trend are early signs of wear that come before obvious rejection.
These signs can only be detected with a comparable history: measuring once does not reveal a trend. Comparing periodic inspections is what exposes progressive wear.
Critical areas to inspect first
Areas with the highest material flow velocity, shut-off contact points, motion guides and areas near the gate concentrate most of the wear in a typical mold.
Prioritizing inspection in these areas, instead of reviewing the whole mold at the same level of detail, makes it possible to detect wear early with less inspection time.
Photographing the critical areas at every inspection, with the same lighting and angle, makes it easier to spot subtle changes that an isolated visual check can miss.
How wear relates to process parameters
Higher injection pressures than needed, process temperatures outside the window, or abrasive fillers not accounted for in the original design accelerate wear regardless of the quality of the steel used.
When wear appears earlier than expected for the projected service life, check whether the process is running within the parameters the mold was designed for, before assuming the problem lies only in the mold material.
When to repair and when to rebuild a component
Localized wear caught early can usually be fixed with a spot repair: welding, build-up or grinding of the affected area. Widespread wear, or wear caught late, may require a complete rebuild of the affected component or insert.
The decision should consider not only the cost of the current repair, but also the likelihood of the same wear coming back if the root cause, whether design or process, is not corrected.
Wear inspection checklist
☐ Check highest-flow points
☐ Inspect shut-off surfaces
☐ Check motion guides
☐ Review areas near the gate
☐ Photograph with a fixed reference
☐ Compare with the previous inspection
☐ Measure dimensional variation
☐ Record the trend, not just a single value
☐ Review current process parameters
☐ Confirm material and filler processed
☐ Check the process is within its window
☐ Rule out a design cause
☐ Evaluate a spot repair
☐ Estimate likelihood of recurrence
☐ Compare repair vs. rebuild cost
☐ Document the decision and rationale
Common questions.
How do you tell normal wear from accelerated wear?
Normal wear progresses in proportion to the number of cycles projected at the design stage. Accelerated wear appears earlier than expected and usually points to a process outside its window, a material different from the one considered in the design, or a component with an insufficient specification.
Is a photo history necessary to detect early wear?
It is not essential, but it makes comparing inspections far easier. Without a comparable reference, many early signs of wear go unnoticed until they already cause visible dimensional variation.
Need help with a similar project?
Share drawings, a 3D model or requirements with our technical team.